import molecularnodes as mn
import MDAnalysis as mda
from molecularnodes.nodes.geometry import StyleRibbon
from MDAnalysis.tests.datafiles import DCD, PSF, TPR, XTC

# create a canvas object
canvas = mn.Canvas()Canvas
Examples of using the Canvas object
The Canvas object can be used to configure different render settings, camera, frame objects and views to render images and animations. The snapshot and animation methods can be used to render images and animations respectively.
Setup Molecular Nodes
There is only ever one Blender scene, so a Canvas is a handle on that scene rather than something it owns. Creating one binds to the scene and, if there are no molecules in it yet, loads the “Molecular Nodes” preset - a default camer and lighting setup - so that renders look OK with minimal setup. Running mn.Canvas() again binds to the same scene and leaves what is in it alone, which means re-running the cell above costs nothing.
To change what is in the scene, ask for it:
clear |
empties the scene of molecules, keeping the camera, lights, render settings, world shader and compositor |
load_preset |
replaces the whole scene with a preset, lighting and render settings included |
mn.Canvas(template="...") loads that template outright, the same as load_preset().
Add Trajectories
t1 = mn.Molecule.load(PSF, DCD)
t2 = mn.Molecule.load(TPR, XTC)
Add Styles and Annotations to Trajectories
(
    t1
    .add_style("ribbon", peptide_radius=0.5)
    .add_style("ball_and_stick", quality=4, selection="resid 184")
    .add_style("spheres", sphere="Instance", selection="resid 1 129")
)

t2.add_style("ribbon", material="Ambient Occlusion")
t2.add_style("ball_and_stick", selection="resid 141")

t1.annotations.add_com_distance(
    selection1="resid 1", selection2="resid 129", text1="resid 1", text2="resid 129"
)
t1.annotations.add_atom_info(selection="name CA and resid 184", show_resid=True)
t2.annotations.add_atom_info(selection="name CA and resid 141", show_resid=True)
<molecularnodes.annotations.manager.AtomInfo_interface at 0x7f22540e70e0>Look at Entities
The look_at method positions the camera to look at and contain a target — a Molecular Nodes entity, a Blender object, or a view. By default, the current camera viewpoint is used. An optional viewpoint param can be used to set the viewpoint to one of [default, front, back, left, right, top, bottom].
# frame trajectory 1 from front and render
canvas.look_at(t1, viewpoint="front")
canvas.snapshot()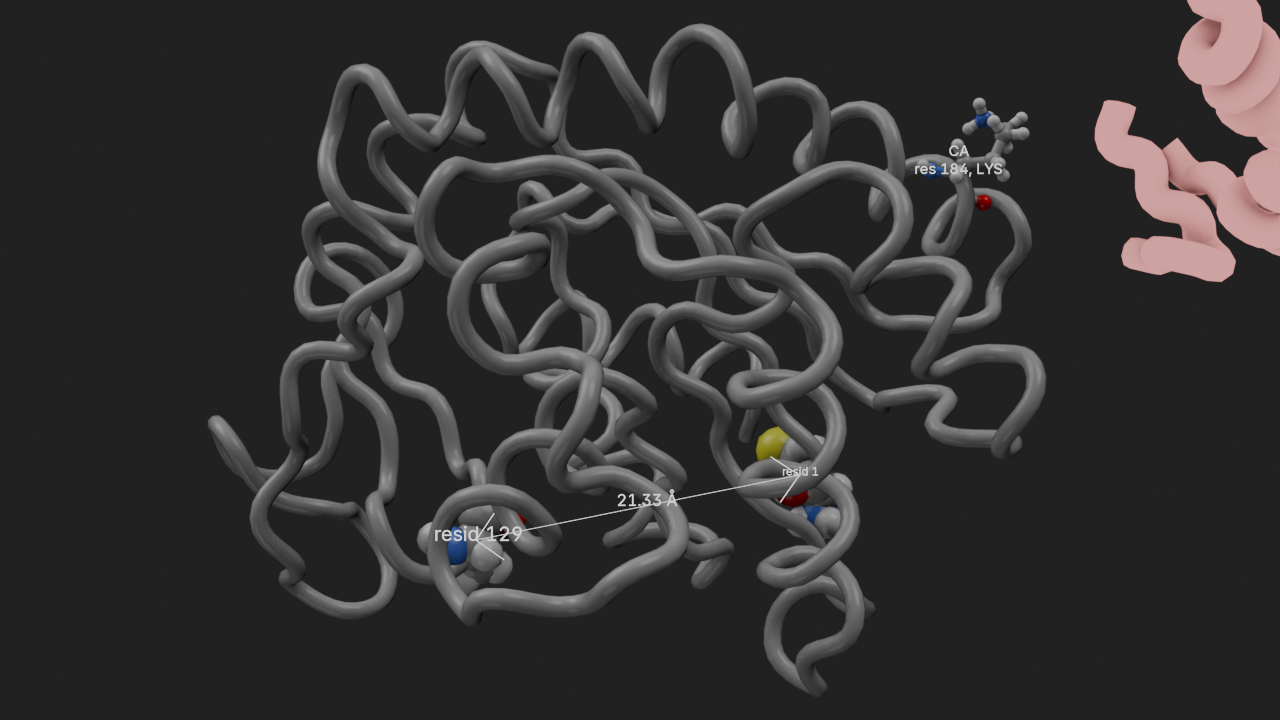
# frame trajectory 2 from front and render
canvas.look_at(t2, viewpoint="front")
canvas.snapshot()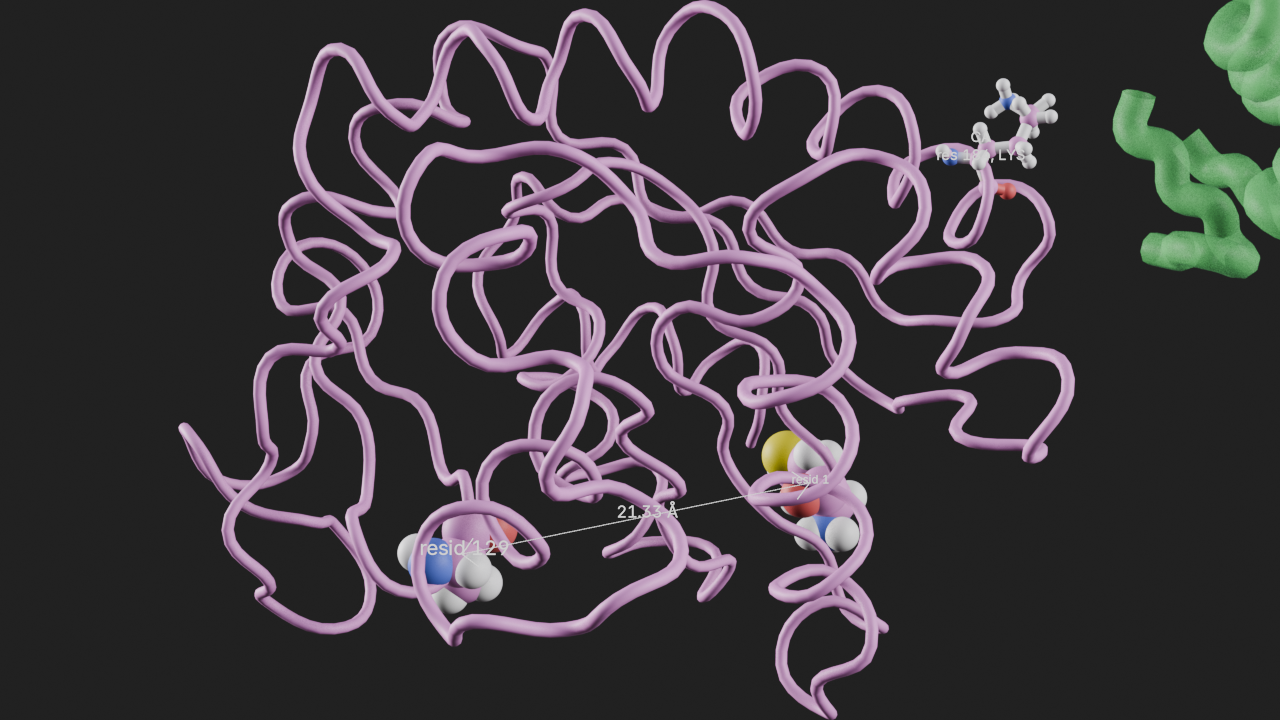
Look at Views
look_at also accepts views. Views can be specific selections within entities or across entities. Multiple views can be combined with a + sign before passing them to look_at. An optional viewpoint param can be passed to specify the viewpoint like before.
All entities have a get_view method that returns the entity object by default. The get_view method of trajectories can return views based on one or more selection strings or AtomGroups and also take the specific trajectory frame into consideration.
# frame resid 184 in trajectory 1 from the front
v184 = t1.get_view(selection="resid 184")
canvas.look_at(v184, viewpoint="front")
canvas.snapshot()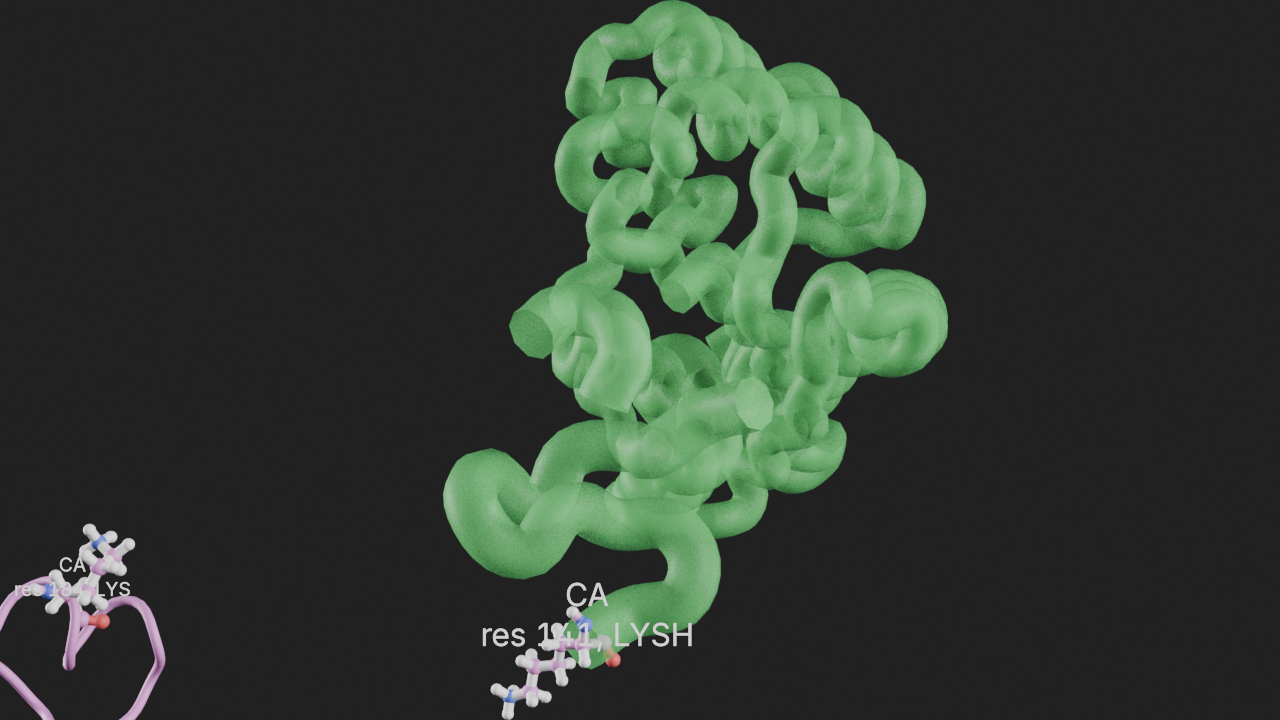
# frame resid 1 and 129 in trajectory 1 at frame 97 from the front
canvas.look_at(t1.get_view("resid 1 129", frame=97), viewpoint="front")
canvas.snapshot()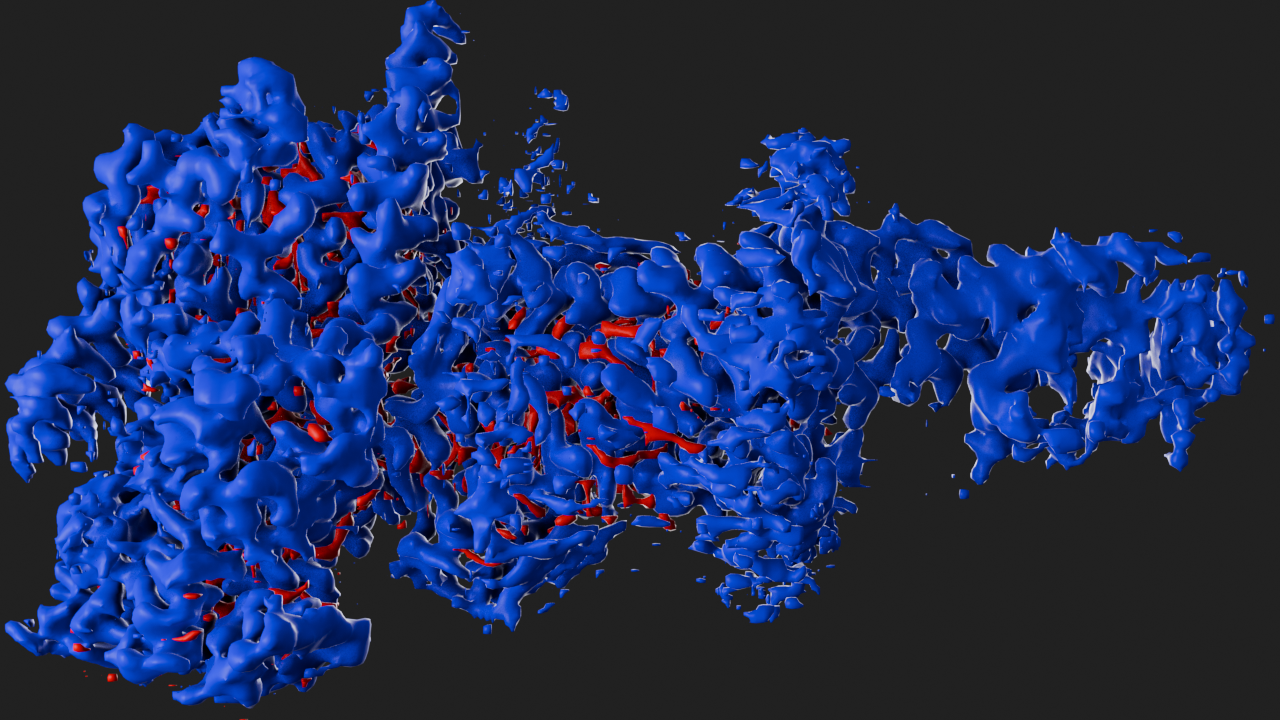
# frame resid 184 from trajectory 1 and resid 141 from trajectory 2
canvas.look_at(
    t1.get_view("resid 184") + t2.get_view("resid 141"), viewpoint="front"
)
canvas.snapshot()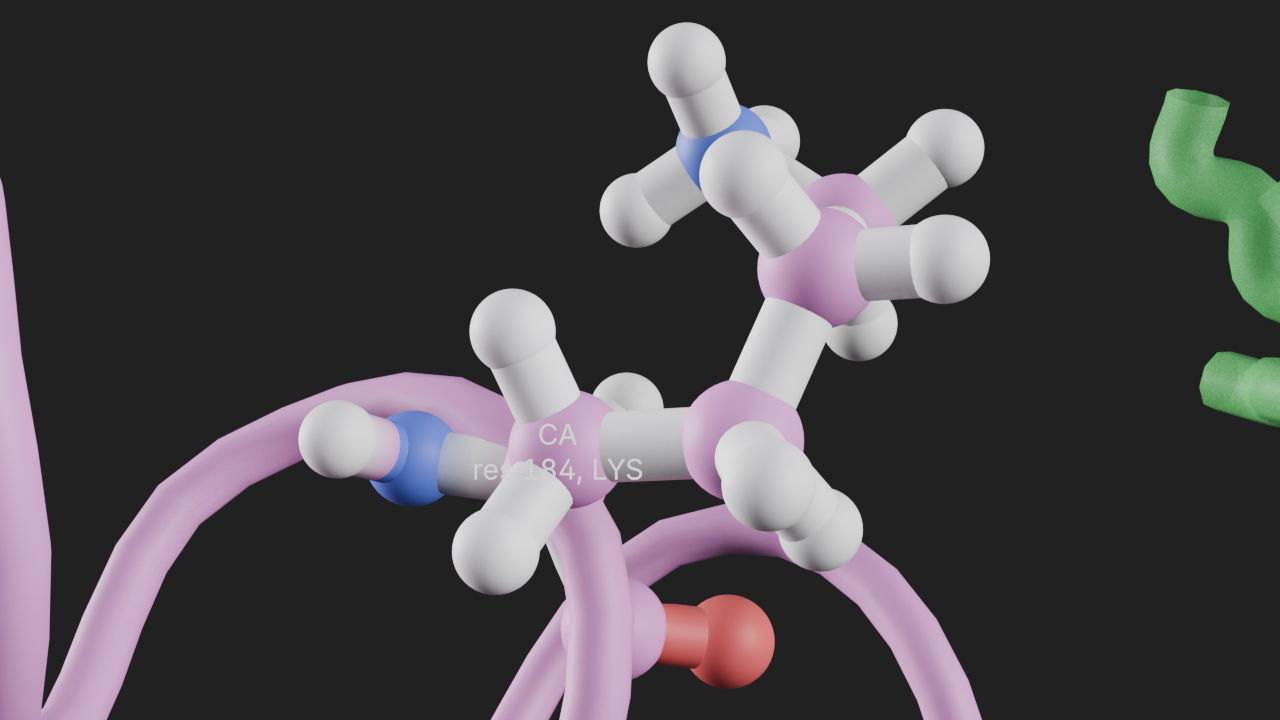
# frame trajectory 2 and density component from left
canvas.look_at(t2.get_view() + t1.get_view(), viewpoint="left")
canvas.snapshot()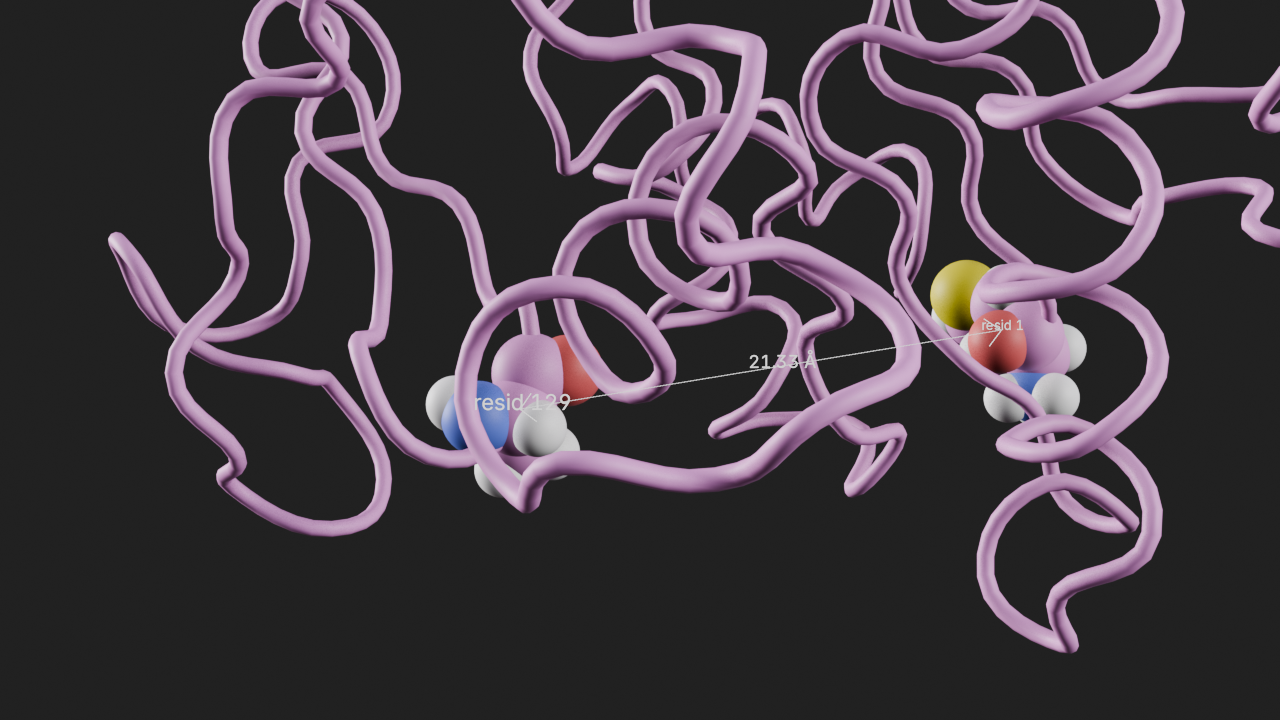
Framing Margin
look_at puts the camera as close to the subject as keeping all of it in frame allows, plus a small default margin of 0.05 so that the subject is not right up against the edge of the frame. Raise it for more room, set it to 0 to fit the subject exactly, or go negative to crop in past its edges.
canvas.look_at(t1.get_view("resid 184"), viewpoint="front", margin=0.3)
canvas.snapshot()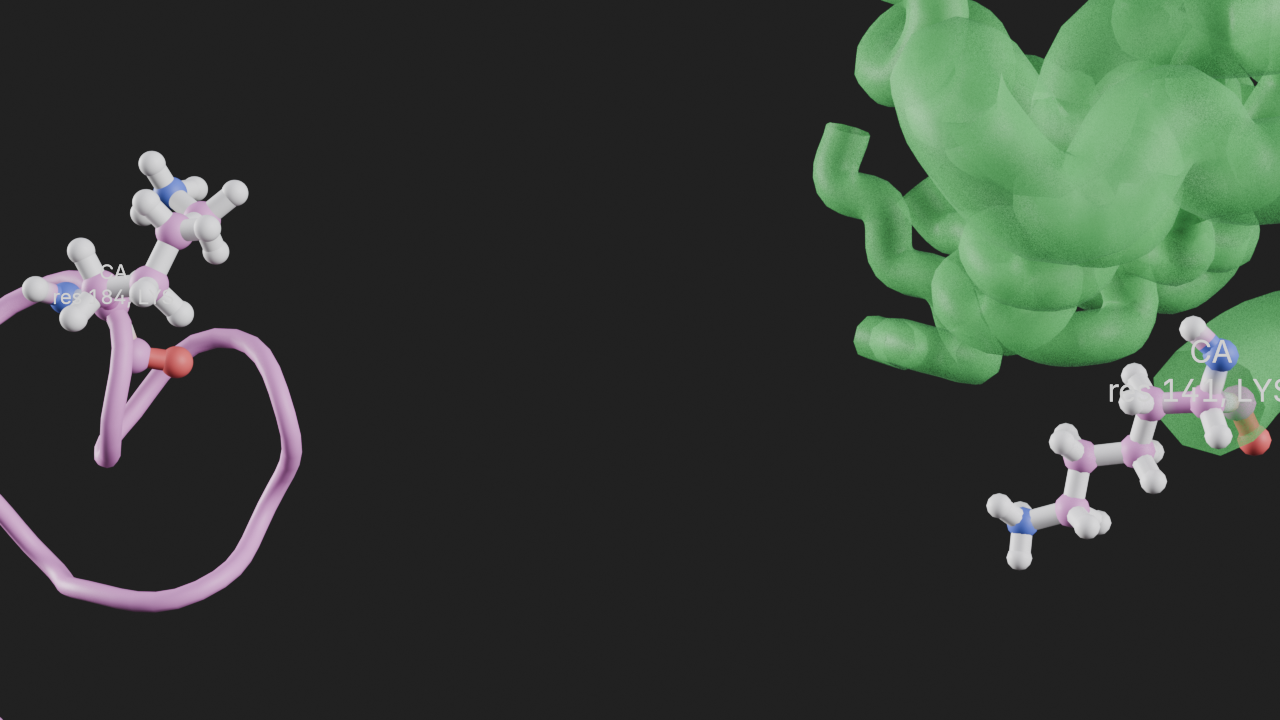
The framing is solved on the positions themselves rather than on a box drawn around them, so it is as tight from an oblique angle as from straight on. Any number of positions can be passed — a view from get_view, or your own array of coordinates.
Camera Zoom in or out
Camera can be zoomed in our out using the camera lens settings of the Canvas camera object once framed.
This is a different thing from margin: the lens changes the perspective, how compressed the subject looks front-to-back, while margin only changes how much of the frame it fills. Changing the lens after framing also changes the framing, so call look_at again afterwards to fit the new lens.
Zoom in
canvas.camera.lens = 150
canvas.snapshot()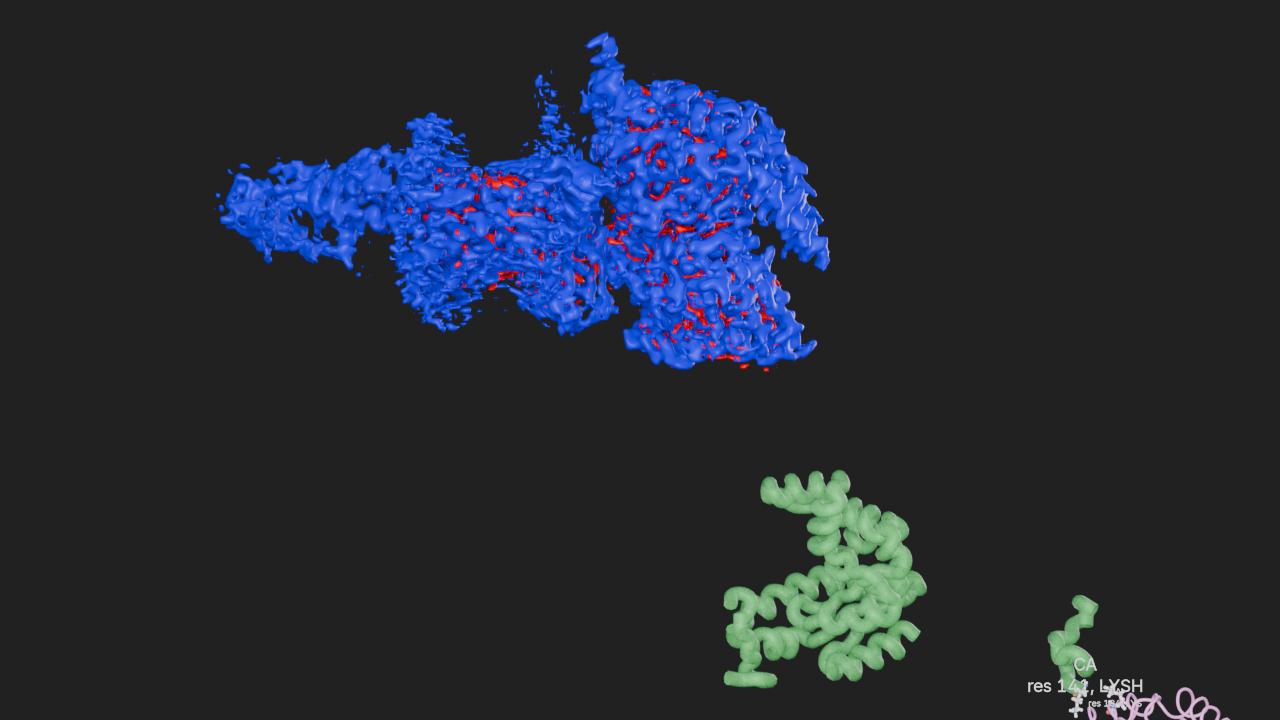
Zoom out
canvas.camera.lens = 35
canvas.snapshot()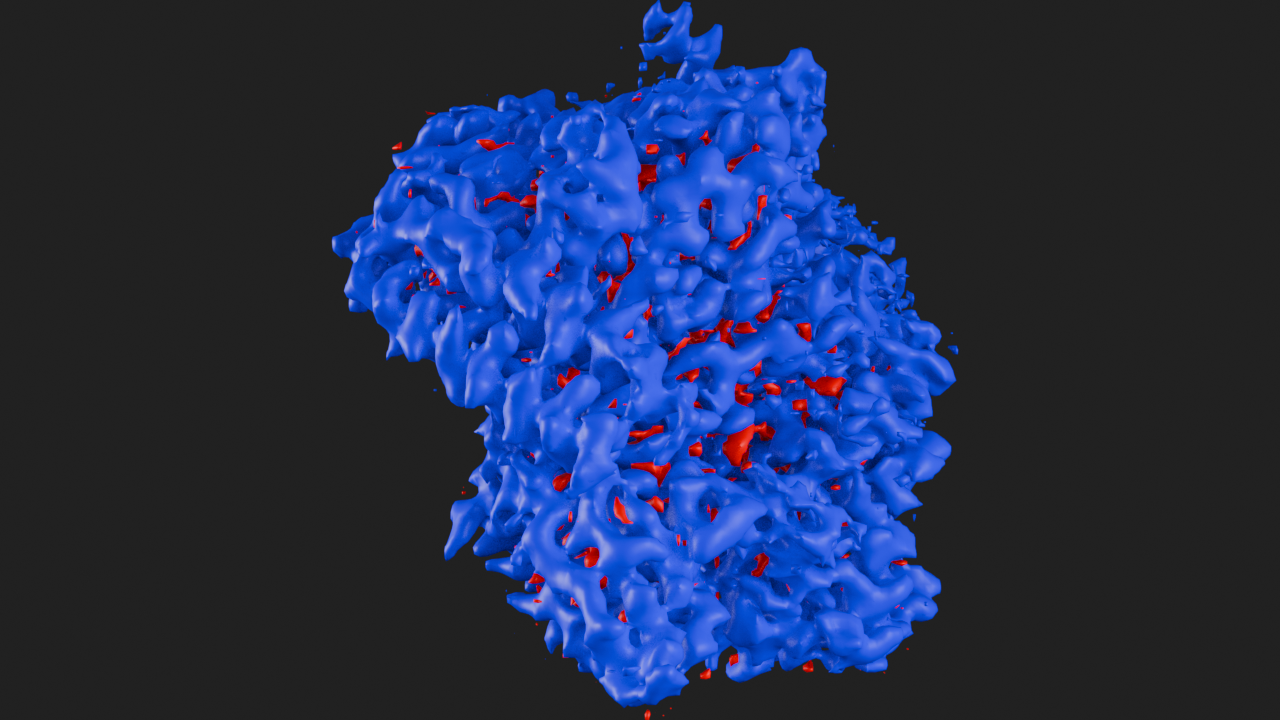
Reset camera lens to default (50mm)
canvas.camera.lens = 50Camera Rotation
Camera can be rotated to an arbitrary angle using the camera rotation method of the Canvas camera object before framing the object or view. Blender uses a default XYZ Euler for rotations along the X, Y and Z axes. The rotation method takes angles in degrees.
# print current rotation
canvas.camera.rotation
(90.00000250447816, 0.0, 0.0)# rotate 45 degrees to left from the front view
# frame density object - note that viewpoint is not specified
canvas.look_at(t2, (90, 0, -45))
canvas.snapshot()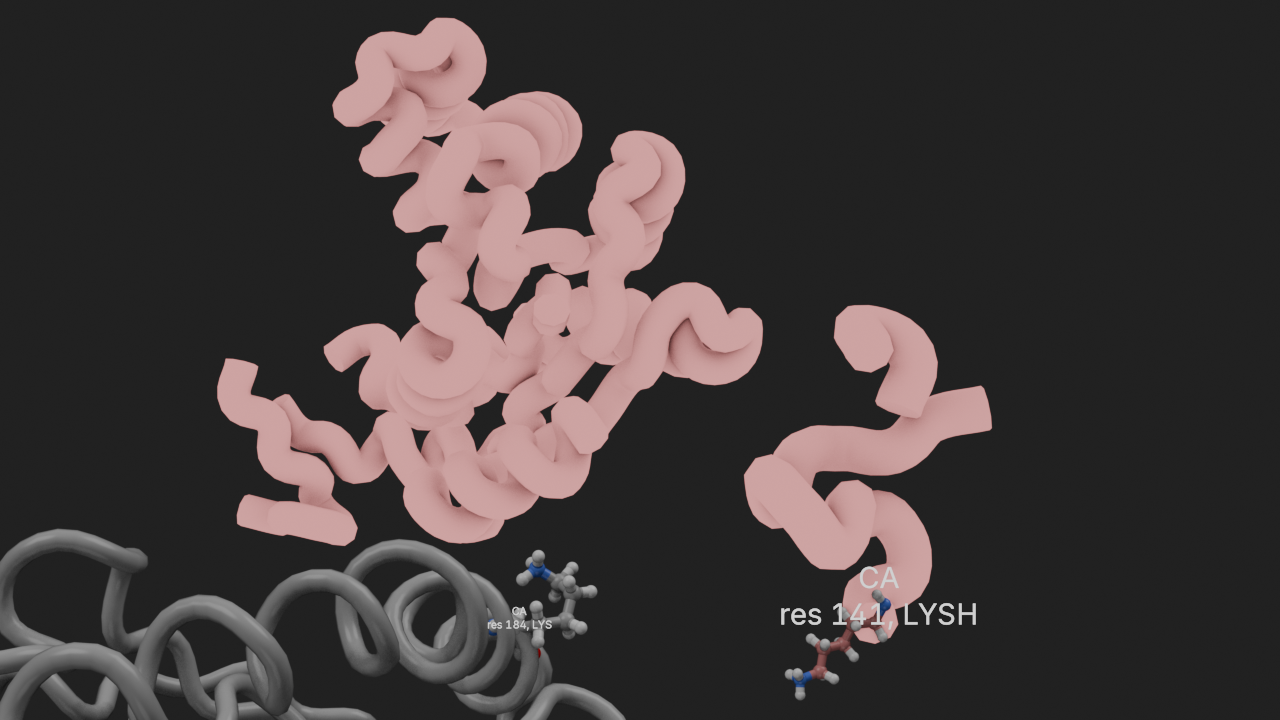
# frame density object and render
canvas.look_at(t2, (90, 0, 45))
canvas.snapshot()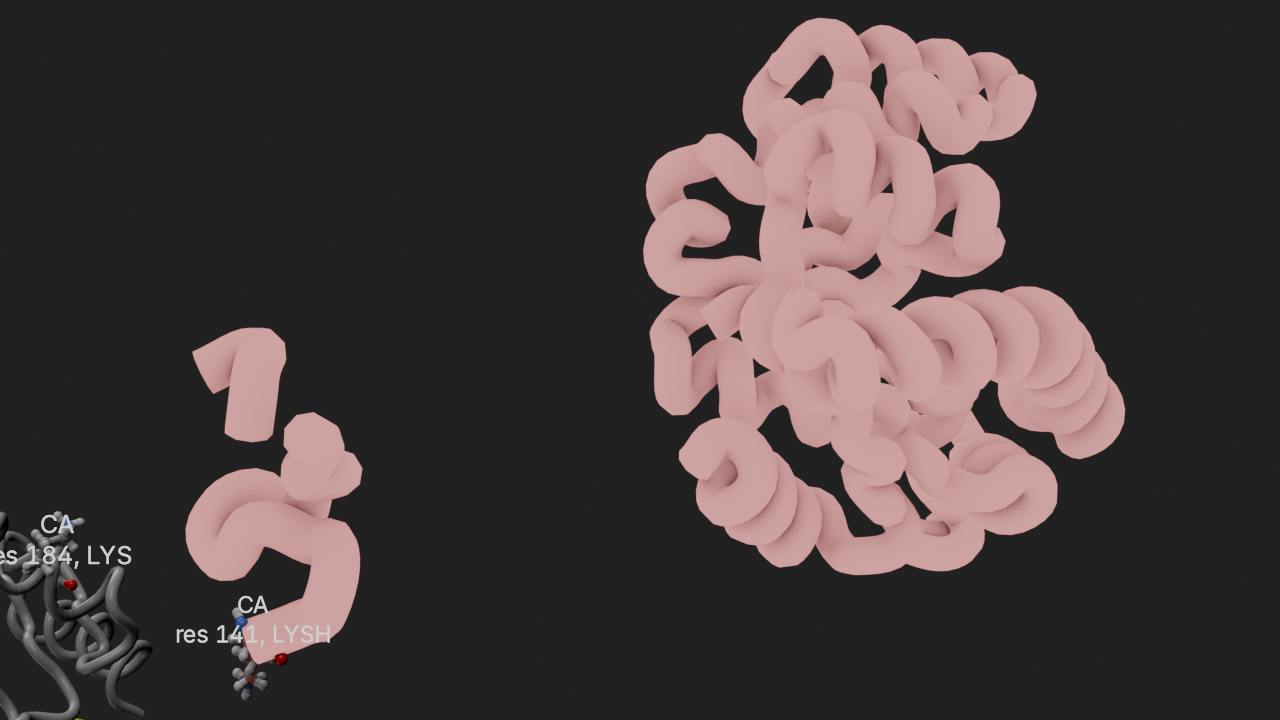
Render Settings
The Canvas exposes the most commonly tweaked render settings as plain properties, so you rarely need to reach into bpy. The render engine and its sample count, the colour-management transform, exposure and gamma can all be set directly.
canvas.samples = 64
canvas.view_transform = mn.scene.ViewTransform.KHRONOS
canvas.exposure = 0.5
canvas.gamma = 1.0

canvas.look_at(t1, viewpoint="front")
canvas.snapshot()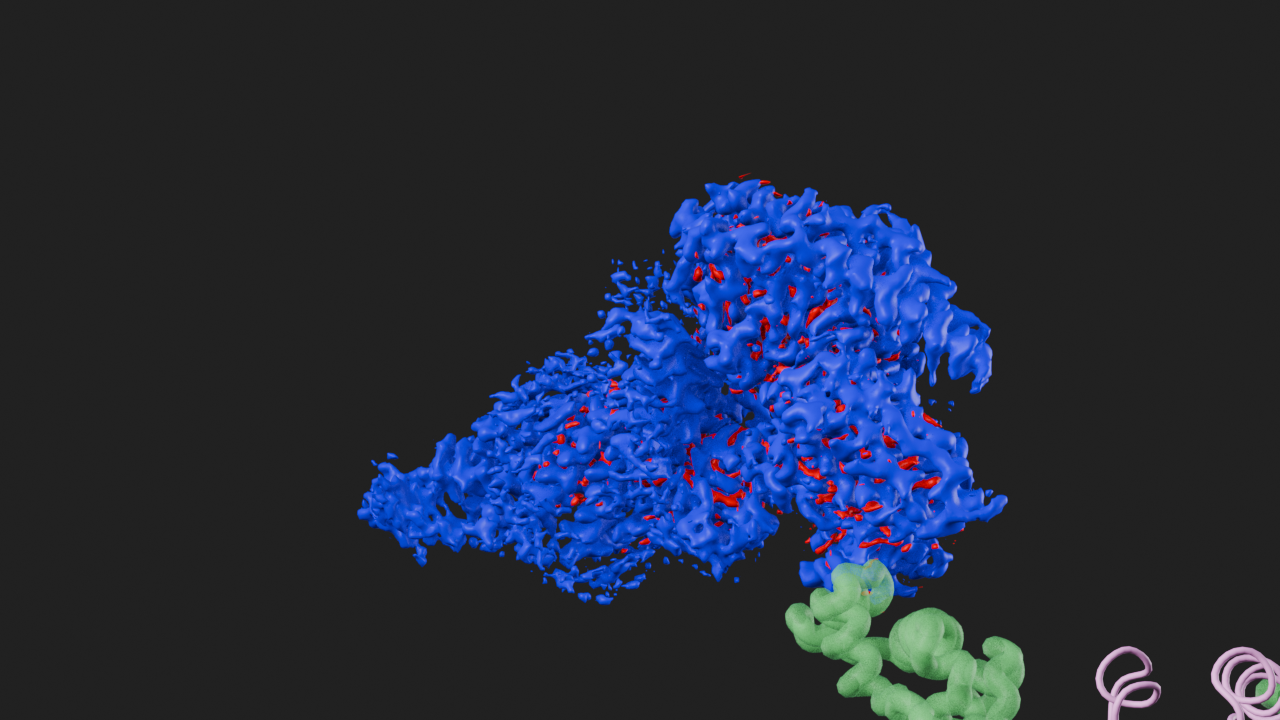
Playback and output settings are equally accessible. frame sets the current scene frame, frame_range sets the (start, end) of the animation as a tuple, and render_scale renders at a percentage of the full resolution for quick previews.
canvas.frame = 12
canvas.frame_range = (1, 50)
canvas.render_scale = 50
canvas.frame12For compositor effects that rely on extra render passes (depth, mist, cryptomatte, …), enable them with passes. Any pass not listed is disabled.
canvas.passes = ["combined", "z", "mist"]
canvas.passes
['combined', 'z', 'mist']World & Lighting
The world shader — the scene lighting and background — is controlled through world, a WorldTree. The two most common controls have convenience properties.
canvas.render_scale = 100
canvas.transparent = False
canvas.world.background = (0.02, 0.02, 0.04, 1.0)
canvas.look_at(t1, viewpoint="front")
canvas.snapshot()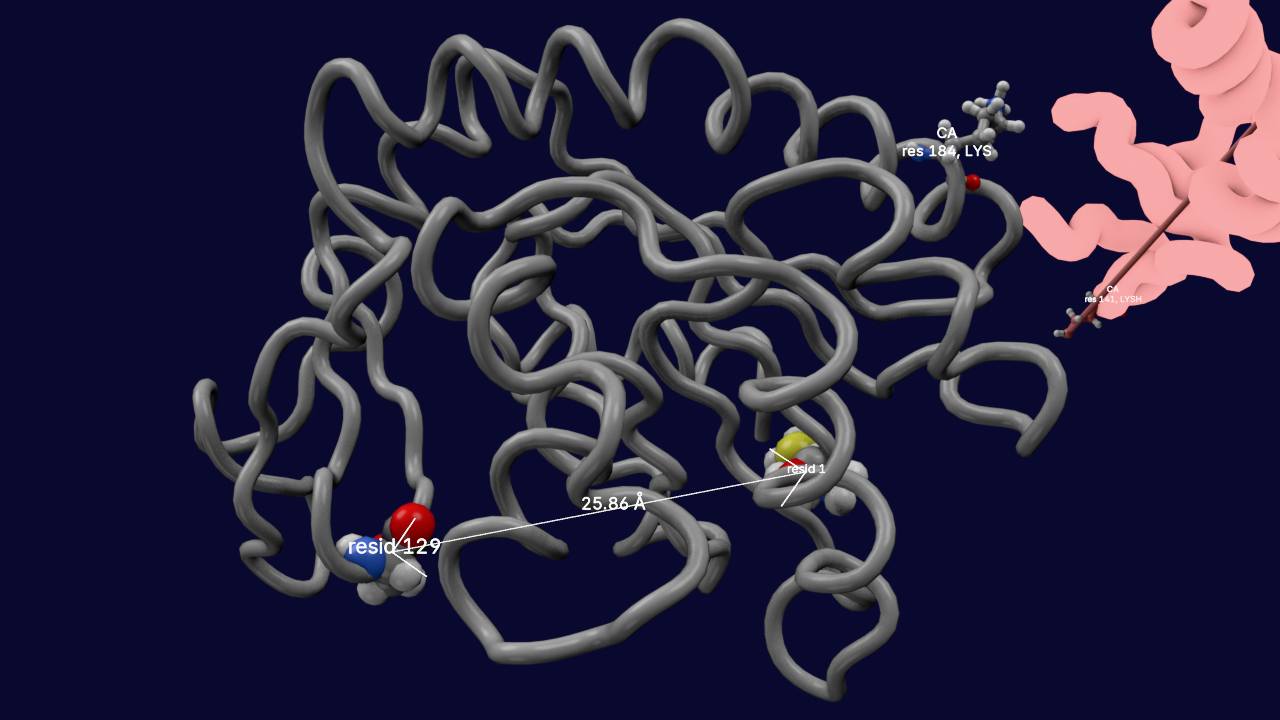
# brighten the world lighting
canvas.world.hdri_strength = 2.0
canvas.snapshot()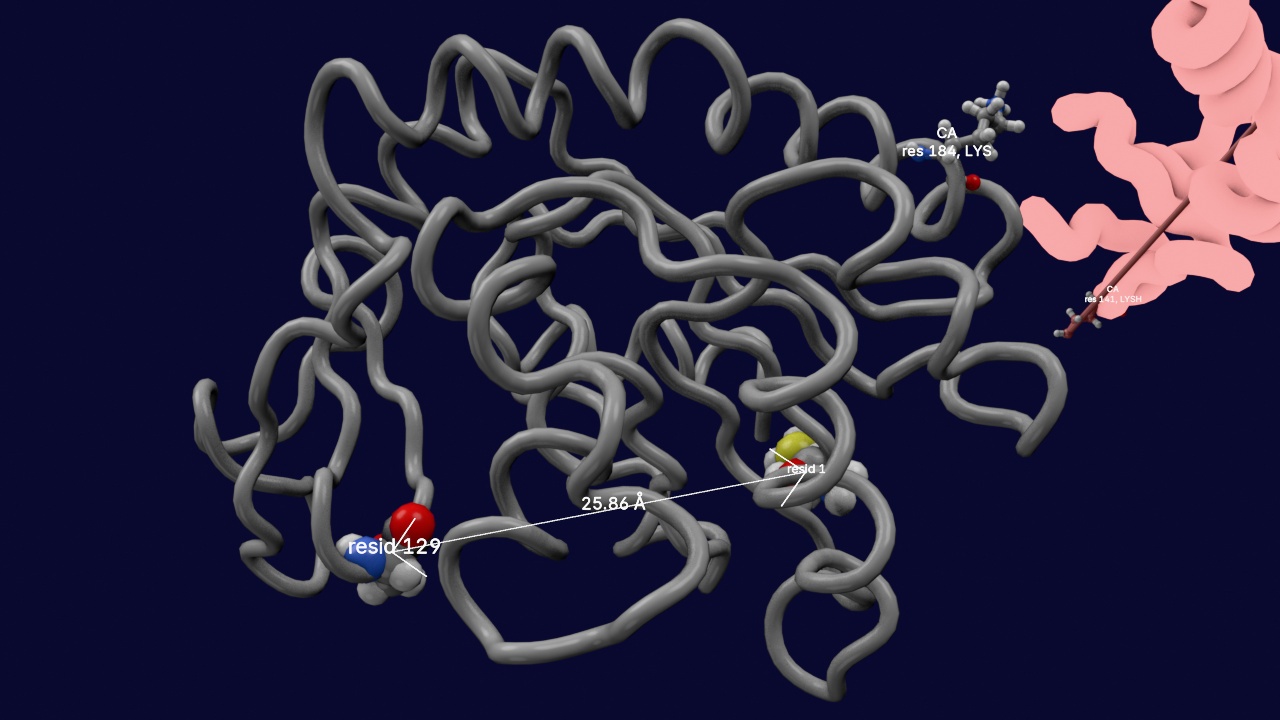
For full control, reset clears the world shader and yields the world-output surface socket to build towards with nodebpy.shader nodes.
from nodebpy import shader as s

with canvas.world.reset() as surface:
    s.Background(color=(0.05, 0.05, 0.08, 1.0), strength=1.0) >> surface
canvas.snapshot()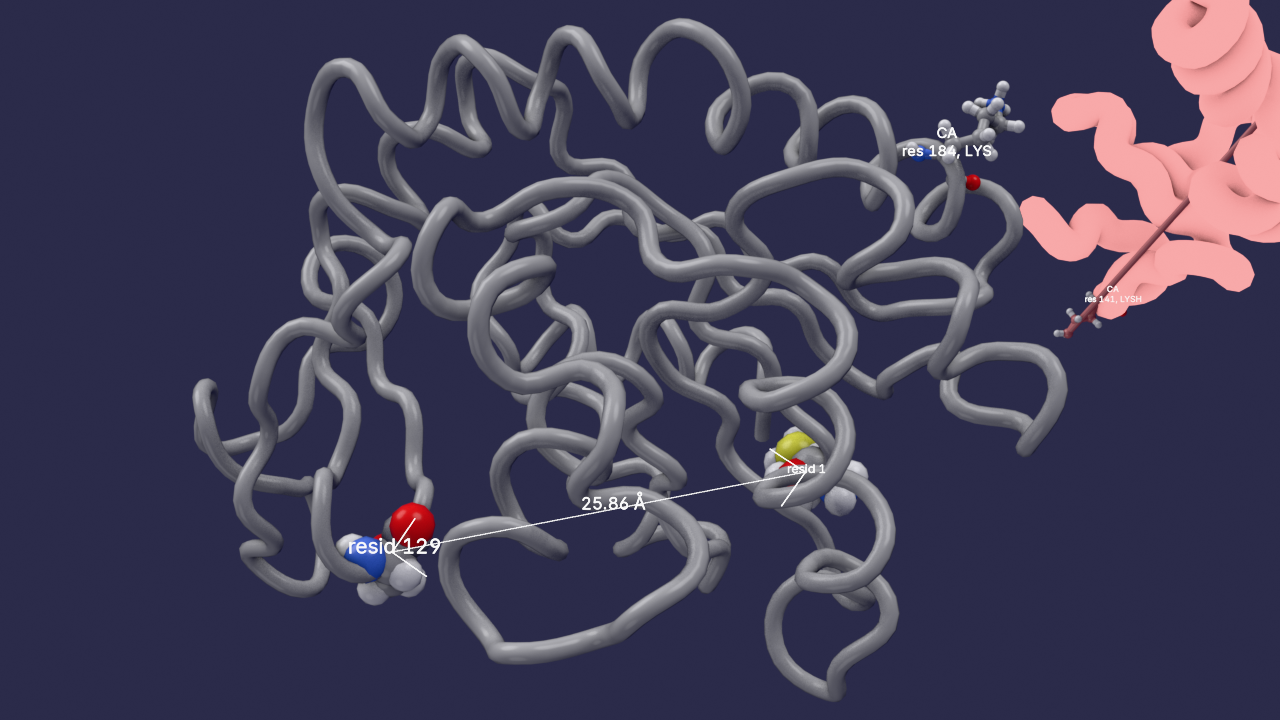
Compositor
Post-processing effects are applied through compositor, a CompositorTree. It works just like the node tree of a molecule: reset clears the tree and yields the rendered image and the final output, and you build the chain between them with nodebpy.compositor nodes.
By default the compositor already composites Molecular Nodes annotations on top of the render. A reset() clears everything — including the annotations — so re-add them explicitly with add_annotations when you want them drawn over your effects.
from nodebpy import compositor as c

canvas.look_at(t1, viewpoint="front")

# add a bloom glare, then draw annotations back on top
with canvas.compositor.reset() as (image, output):
    image >> c.Glare.bloom(strength=0.4) >> output
canvas.compositor.add_annotations()
canvas.snapshot()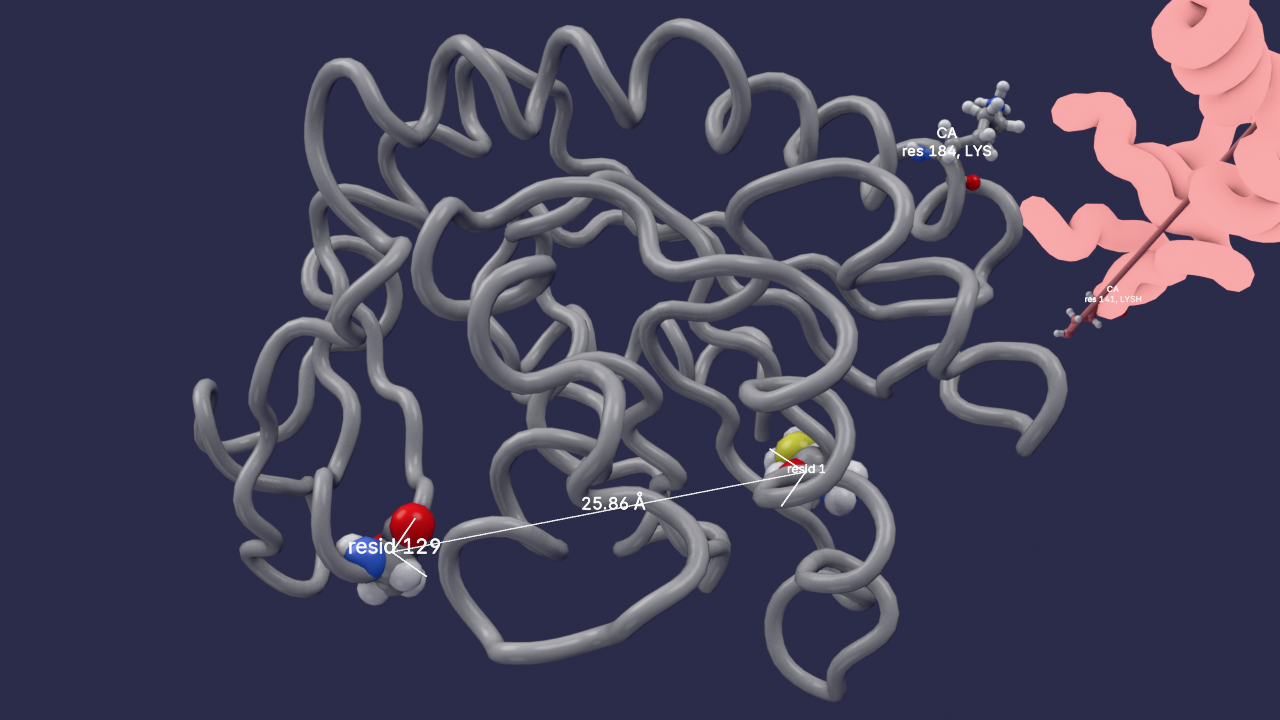
Effects can be chained. Here a brightness/contrast adjustment follows the glare before the annotations are composited.
with canvas.compositor.reset() as (image, output):
    (
        image
        >> c.Glare.bloom(strength=3.0, highlights_threshold=0.4)
        >> c.BrightnessContrast(contrast=0.3)
        >> c.AlphaOver(foreground=c.Image(mn.scene.compositor._annotations_image()))
        >> output
    )
# canvas.compositor.add_annotations()
canvas.snapshot()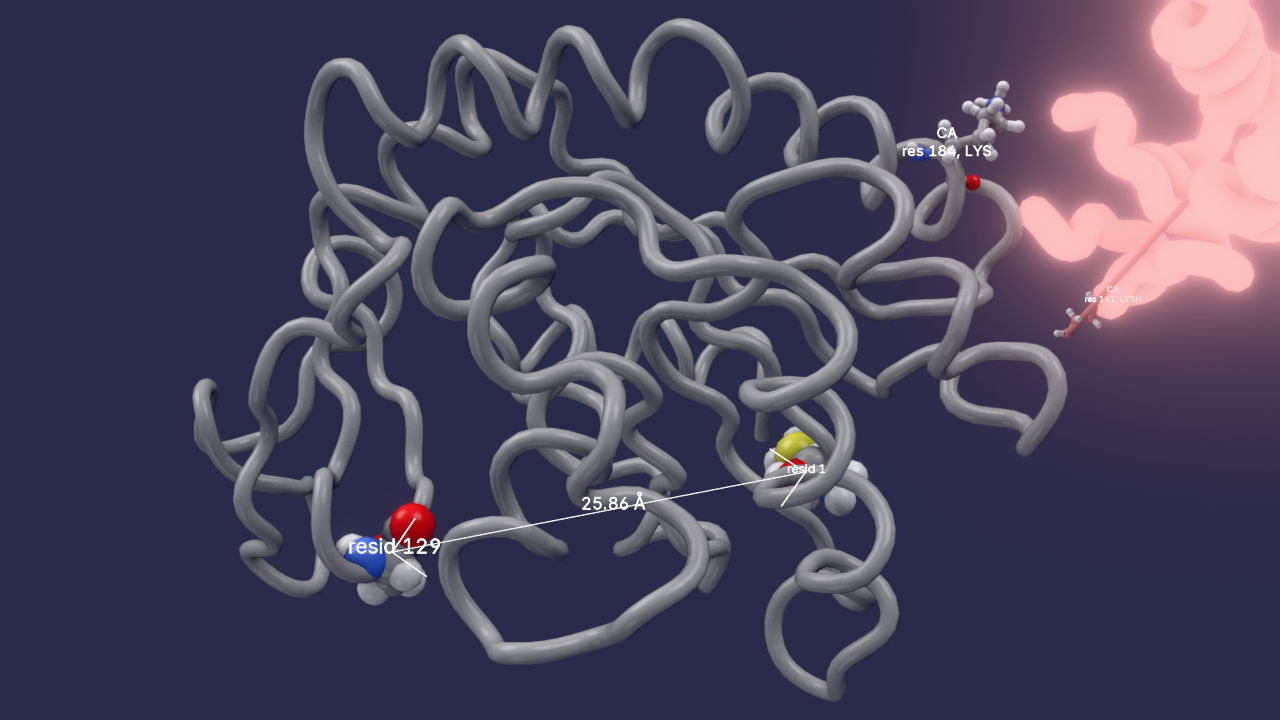
To restore the plain render, reset the compositor and re-add the annotations.
canvas.compositor.reset()
canvas.compositor.add_annotations()
Execution Settings
How the compositor executes at render time is controlled through properties on the same CompositorTree: device ("CPU" or "GPU"), precision ("AUTO" or "FULL"), and for Denoise nodes denoise_device, denoise_preview_quality and denoise_final_quality.
Blender defaults the compositor to the GPU. On a headless machine without one (a render farm, CI, some cloud notebooks) GPU compositing aborts the render, so switch it to the CPU:
canvas.compositor.device = "CPU"Animations
The animation method can be used to render animations. An optional frame_start and frame_end can be specified to limit animations to a custom range. The render_scale parameter can be used to scale the renders as a percentage of the render resolution.
# frame resid 1 and 129 in trajectory 1 at frame 97 from the front
canvas.look_at(t1.get_view("resid 1 129", frame=97), viewpoint=mn.scene.Viewpoint.FRONT)
t1.average = 1
# add a universe info annotation to trajectory 1
t1.annotations.add_universe_info()
<molecularnodes.annotations.manager.UniverseInfo_interface at 0x7f22540e7a10># render animation of scene from frame 10 to 50 at 50% sccale
canvas.animation(frame_start=10, frame_end=50, render_scale=50)Frame-by-Frame Recording
Where animation plays back the Blender timeline, a recording created with record puts the loop in your hands. Change anything about the scene between frames — the timeline, the camera, styles, colors — and call render to capture the scene as it stands as the next frame. When you’re done, finalize assembles the frames into an MP4 or GIF.
movie = canvas.record(fps=12)

for i in range(15):
    canvas.look_at(t1, viewpoint=(90, 0, i * (360 / 15)))
    movie.render(render_scale=50)
movie.finalize()A recorder is also a context manager: give the output path up front and a clean exit from the with block finalizes to it automatically.
with canvas.record("orbit.mp4", fps=12) as movie:
    for i in range(15):
        canvas.look_at(t1, viewpoint=(90, 0, i * (360 / 15)))
        movie.render()
By default the frames live in a temporary directory that is cleaned up with the recorder. Pass frames_dir to render them into a directory that outlives it, and add overwrite=False to make re-running the same loop resume an interrupted recording: frames already on disk are reused and only the missing ones are rendered.
movie = canvas.record(fps=12, frames_dir="renders/orbit", overwrite=False)